
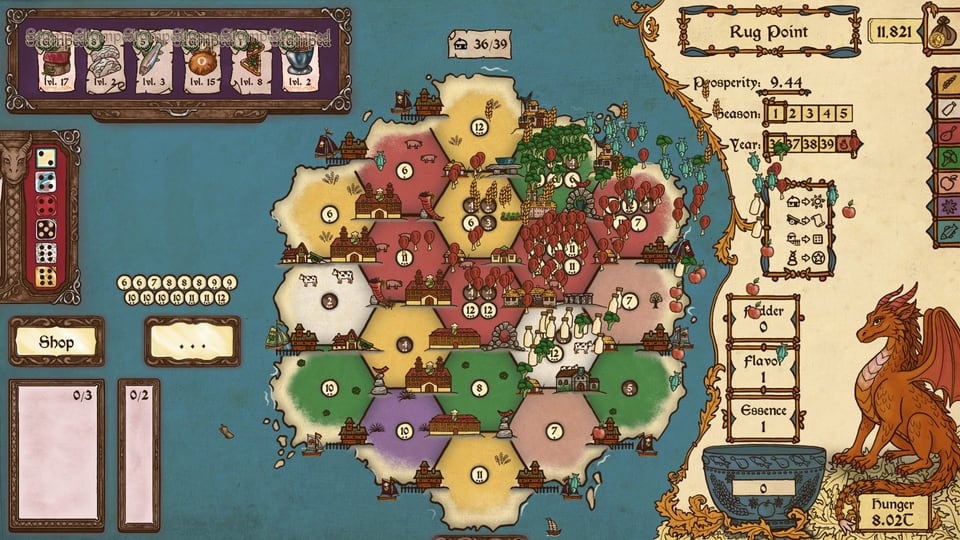
Shrines reward concentration
Tutorial footage uses a Shrine beside Farmsteads to show adjacent-building amplification. That makes Shrine placement a multiplier problem: the stronger the buildings touching it, the more valuable the slot.
Best target
Prefer a cluster that already produces the ingredient or economy your build needs. A Shrine that doubles or strengthens a weak, irrelevant building is still weak.
Shrine progression and rerolls
Supplied footage ties the Shrine family to additional dice-roll opportunities. More rerolls improve consistency when your build needs specific Mark combinations.
Upgrade timing
Do not upgrade purely because a tier-two Shrine appears. Ask whether the new effect still supports your engine and whether replacing the old version changes an adjacency you rely on.
Shrines versus more Farmsteads
If you are short on raw ingredients, another Farmstead may be better. If you already have a strong production cluster, multiplying it can be more efficient than adding a separate low-synergy producer.
Sources and evidence
- Feed the Scorchpot publisher press kit — current official facts and feature counts.
- Feed the Scorchpot on Steam — current store and release information.
- Our evidence policy and supplied gameplay sources — includes version caveats for demo and beta footage.